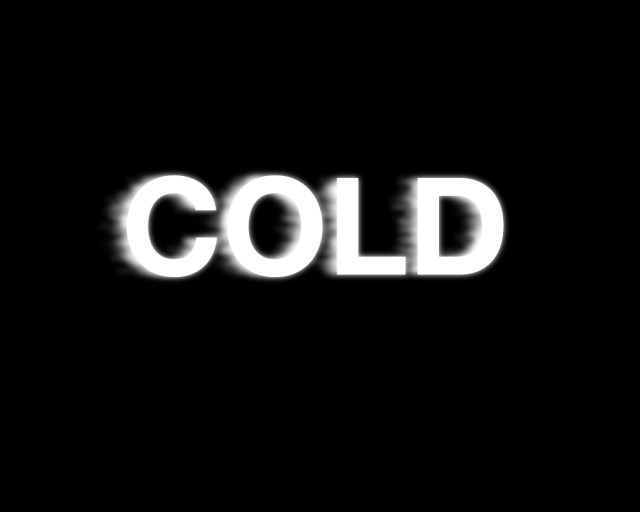
How to create an ice cold text effect
- October 6th, 2022
- Photoshop
This photoshop tutorial is an excellent resource for anyone looking to master Adobe Photoshop. In this video screencast, I will guide you through every step of the process to help you create a unique and eye-catching ice cold text effect that you can use in all your future projects. By following along with this tutorial, you’ll not only learn how to create this specific effect, but also gain valuable knowledge about various tools and techniques that can be applied to other projects. I
n addition, I will share with you some helpful tips and tricks that will take your design skills to the next level. By the end of this tutorial, you can use this technique to enhance your designs and impress your clients. So sit back, relax, and let’s get started!
Premium design assets for
your next project
Acess to a huge libary of design resources from Photoshop brushes to vector resources.
Join todayTutorial details
- Program: Photoshop
- Time estimation: Under 3 minutes
- Difficulty: Easy
Preview

Video transcript:
And welcome to “Creative Nerds.” In this Photoshop tutorial, we will be sharing with you how you can create a montage effect using any item, objects, any photograph in Photoshop. So we have this image of some posters and we’re gonna create a montage out of it. So we’re gonna start off by selecting our rectangle marquee tool, and we’re just gonna draw a rectangle around our item or our object that we wanna turn to a montage. So in this scenario, it’s gonna be our movie poster, and we’re just gonna ensure the selection doesn’t go over the image. Once we’ve done that, we’re gonna head over to Edit and we’re going to select Define Pattern.
And we’re just going to give it a name. So we’ll call it Movie poster. Select OK. We’re gonna undo our selection, and then create a new layer, ensure our new layer is selected. And then we’re gonna head over to Edit, select Fill, and then this will bring up the Fill dialogue. From there, we want to select our custom pattern, which is the new movie poster pattern we just created. We wanna select the Script option. We wanna ensure that that is checked. And from there we can choose from various options. So we have like brick fill, cross weave. We wanna choose random fill. Then we wanna select OK. That will bring up the Random Fill dialogue box. And then from there, we can preview how our pattern’s gonna look.
So you wanna start off by giving each one identity number of 4. In fact, we’ll do it as 3, and then we’ll change the minimum scale factor to be 2. And then the maximum scale factor to 1. And what you can do, you can play around with these numbers to get a result which you’re happy with. But 3, 2, 1 seems to work really well. So I obviously tend to stick to that. Once you’re happy with that select OK, and there you go [inaudible 00:02:12] montage effect. Hopefully, this is a useful tutorial and one that you can use in your design projects. Thanks for watching and stay tuned to “Creative Nerds” for quick tips on how to use Photoshop.