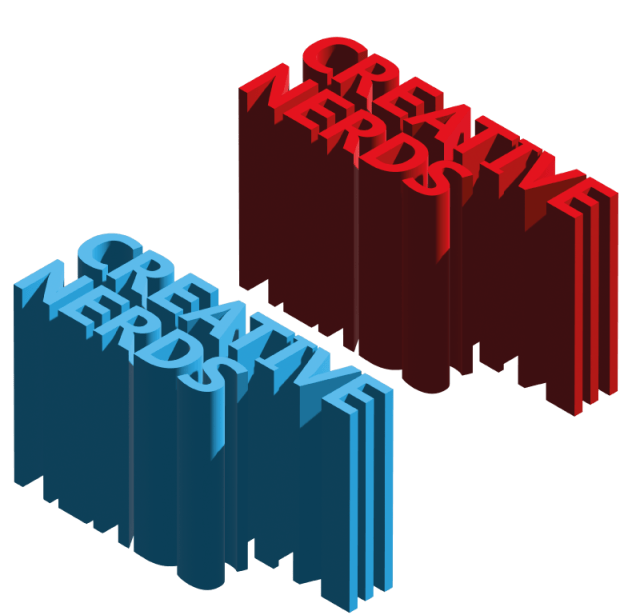
How to create a 3D long text effect
- August 24th, 2023
- Illustrator
This Illustrator tutorial is perfect for those who are looking to spice up their designs and make them stand out. The tutorial will teach you how to create a cool 3D text effect in just a few simple steps. You’ll learn how to manipulate text and shapes to give your design depth and dimension. With this new skill, you’ll be able to create eye-catching designs that are sure to impress. Plus, you can apply this technique to various design projects, making it a versatile addition to your skillset. So why settle for flat, uninspired designs when you can make them pop with this easy-to-follow tutorial? Give it a try and see the results for yourself!
Premium design assets for
your next project
Acess to a huge libary of design resources from Photoshop brushes to vector resources.
Join todayTutorial details
- Program: Illustrator
- Time estimation: Under 3 minutes
- Difficulty: Easy
Preview

Step 1 – Choose Your Foreground Color
First, decide on the color you want your text to be. Let’s go with red. Then, type out your text in the middle of your canvas. In this example, we’re going to use the words “creative nuts”. We want to make the text larger, so we’re choosing a font size of 110. We’re also going to change the font to PT Sans, which is a free Google font that you can easily download. Decrease the line height so that it’s less of an expatiation between the two words.
Step 2 – Select Effects 3D and Materials
Select “Effects, 3D and Materials”, and then select “Extrude & Bevel.” This will bring up the dialog box. We want to change the off-axis point to be “isometric top.” Then, increase the depth until you’re satisfied with the 3D effect.
Step 3 – Change the Color
Once you’ve adjusted the depth, you can change the color of your text to red. Voila!…